 Slic3r Manual
 Slic3r Manual
If the 3D mesh described in the model contains holes, or edges are misaligned (known as being non-manifold), then Slic3r may have problems working on it. Slic3r will attempt to fix any problems it can, but some problems are out of its reach. If the application complains that a model cannot be sliced correctly then there are several options available, and the ones described here are all free at the time of writing.
Netfabb produce a range of 3D modelling applications, including a free basic version1. This version includes a mesh repair module which can help eliminate the various problems faced. Up-to-date instructions can be found on the Netfabb wiki2, the following is a quick overview of the steps involved.

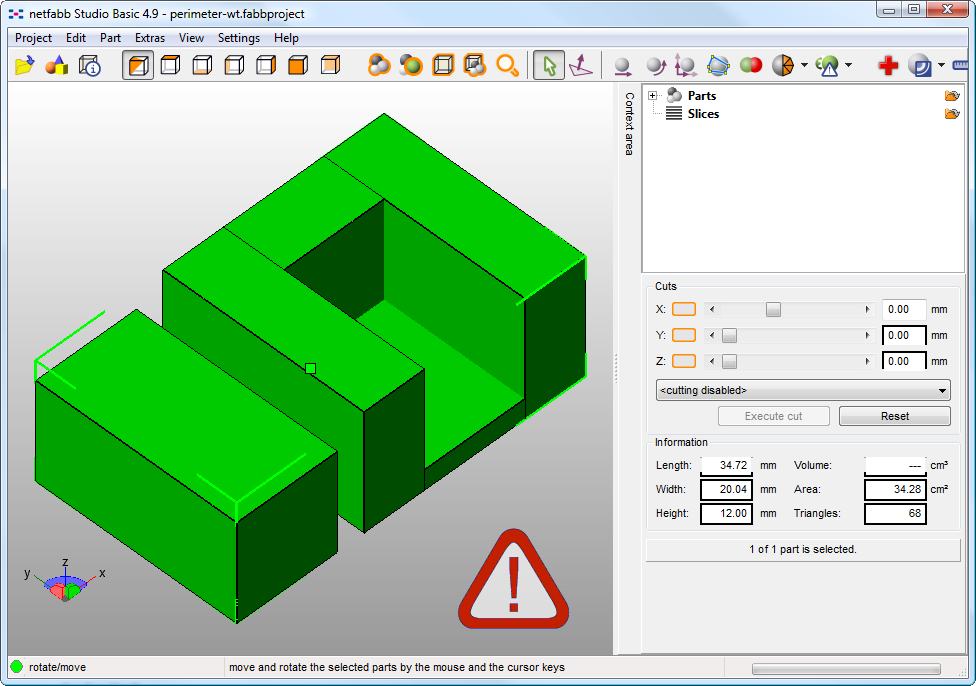
Netfabb Studio: Part repair.
Start Netfabb Studio, and load the problem STL file, either via the File menu or by dragging and dropping it onto the workspace. If Netfabb detects a problem it will show a red warning sign in the bottom right-hand corner.
To run the repair scripts, select the part and then either click the first aid icon in the toolbar (the red cross), or select from the context menu Extras->Repair Part. This will open the part repair tab and show the status of the model.
The Actions and the Repair scripts tabs offer several repair scripts which can be applied manually, however for the purposes of this overview selecting the Automatic repair script will fix most problems.
The automatic repair button presents two options: Default and Simple. Choosing Default will cover most cases. Select execute to run the scripts.
Once the part is repaired the repairs must be applied by selecting Apply repair, choosing whether to override the existing part or not.
The part may then be exported by selecting Export part->As STL from the context menu.
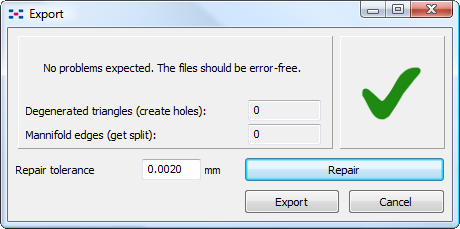
If Netfabb still detects that the exported part will still contain errors then it will provide the option to apply further repairs before exporting.

Netfabb Studio: Part export.
Netfabb also hosts a web service where an STL file may be uploaded for it to be checked and repaired3.

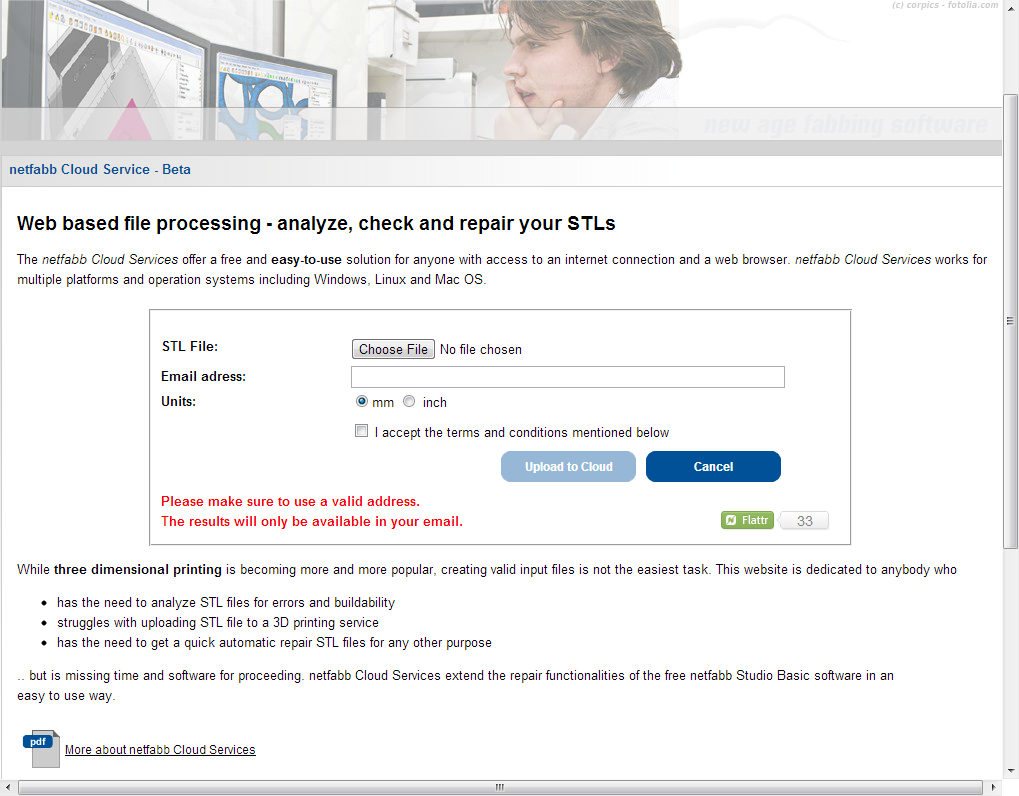
Netfabb Cloud Services.
Navigate to http://cloud.netfabb.com
Choose the STL file to upload using the button provided.
An email address must be given to inform you when the service is finished.
Choose whether metric or imperial measurements should be used.
Read and accept the terms of service, and then click Upload to Cloud.
Once the service has analysed and repaired the file an email is sent providing the download link to the repaired file.
Freecad4 is a comprehensive, and free, CAD program which comes with a mesh module, in which repairs to degenerate models can be made. the following steps outline how a problem model file can be analysed and repaired.

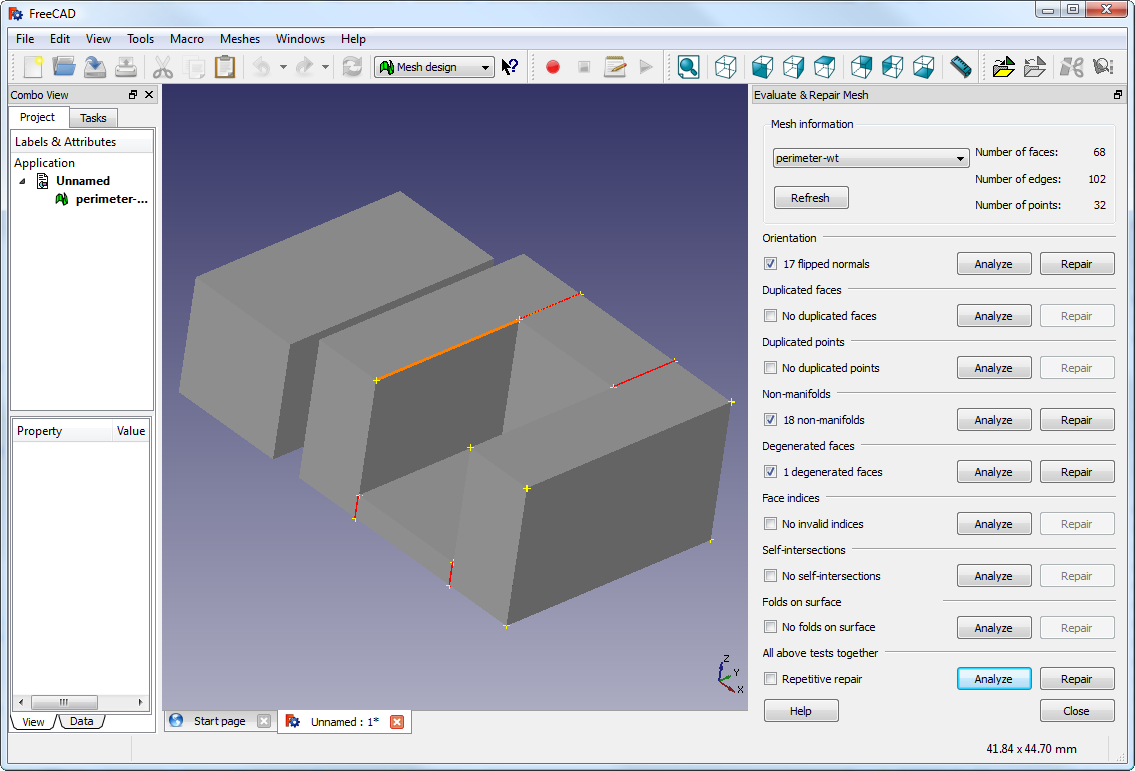
FreeCAD part repair.
Start FreeCAD and from the start splash page choose Working with Meshes.
Load the model by dragging and dropping it onto the workspace or via the File menu. A small message in the bottom left corner will indicate if the model appears to have problems.
From the menu choose Meshes->Analyze->Evaluate & Repair mesh to bring up the repair options dialog.
From the options dialog choose the loaded mesh, then perform each analysis be clicking the Analyze button by each problem type, or select Repetitive Repair at the bottom to perform all checks. If a corresponding problem is detected the Repair button becomes enabled.
For each desired repair hit the Repair button.
It is important to review the effect the repair script has made to the model. It may be the case that the script damages the file, rather than repair, for example by removing important triangles.
Export the repaired model via the Export menu option or context menu.