This page explains a useful trick to use Slic3r to use manual filament swaps in lieu of multiple extruders.
Theory & Overview
Slic3r has the ability to insert custom G-Code at the point of every toolchange, and this G-Code is always inserted if a tool change event occurs.
Normally, with a single extruder you would never generate a toolchange event from Slic3r; but we can override that with modifier meshes. Also, you'll need to tell Slic3r you have more than one extruder temporarily so that you can edit the configuration.
Procedure
- Load your model into the plater.
- Right-click on the
- Add a new modifier mesh. For this, we use the slab modifier. Any modifier will do.
- You want to enclose the entire area you want to be the new color/filament.

- Select the modifier mesh and set the extruder to 2.
- Move the modifer mesh where you want to to be on the model.
- Click "ok"
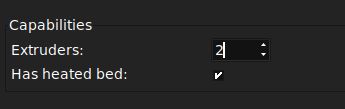
- Open Printer Settings.
- Change the number of extruders to 2.
- Select "Custom G-Code"
- Scroll down to Tool-Change G-Code.
- Add whatever you need to implement the filament swap here.
- Marlin firmware has M600 available if you have an LCD for the swap.
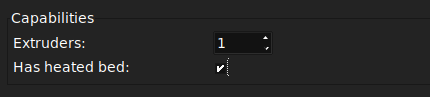
- Go back to the Printer settings page.
- Change the number of extruders to 1.
- Save this profile as a new profile.
- Download this post processing script
- Open Print Settings.
- Select "Output Options"
- Add the path to the post processing script to the Post-Processing scripts.
Notes
This technically works with anything that would cause a toolchange event; so selecting different support extruder, etc, would work the same way. More complex usages may cause a lot of swaps, so you have been warned.
 Slic3r Manual